Monday, March 14, 2011

Ta- Dah!

So what do think? I'm really loving the color! Hubby and I moved it up to my studio yesterday afternoon (not an easy task). It's right at home, enjoying its new corner. I started filling the drawers, but I have lots more to go - it holds SO MUCH!

I need to move all my thread spools to a drawer or two. I also want to put all my fabric paints in a drawer. I filled one drawer with hand dyed (by me) fabrics. And I can't wait to make little label cards to slide into the little slots. This is the fun part of The Great Studio Makeover.

Today I have a quilt guild meeting. For one reason or another (bathroom remodel, wedding, sickness, etc.), I haven't been to a meeting since September - can't believe it's been so long! I'm really looking forward to seeing everyone.

I'm going by to check on my parents before the meeting. They seem to be managing, and though my mother has not been complaining, she doesn't seem very happy. Maybe the cake I'm taking them will help a bit to cheer them.

Sunday, March 13, 2011

A Day of Organizing

Here's a shot of the metal cabinet I got at an estate sale a couple of weeks ago. We moved it out on the driveway yesterday so I could spray paint it. It was the first day we've had with weather warm enough for painting outside. This is the "before." I'll reveal the "after" soon.

The painting process didn't take as long as I thought. I even sprayed the inside of the drawers. When I was shopping for the paint, I almost went with a charcoal gray. But Daughter 2 said it would just look like a file cabinet. So we picked out a fun color. Yes, it's now BRIGHT! But very pretty. We're going to move it to my studio this afternoon.

I spent a few hours yesterday morning working on The Great Studio Makeover. I'm getting so close to being ready to paint the walls. I bought the paint yesterday so I'll be ready to attack those yellow walls in the next few days.

Hubby and I also started on The Great Garage Makeover. We're turning the workshop area into an exercise area. He bought a new weight machine from Craigslist - we'll be picking it up this afternoon. Lots of organizing going on around here!

Friday, March 11, 2011

Orphan Blocks

I been working for hours this week on The Great Studio Makeover (check my progress here). I keep finding orphan blocks in all the mess.

I'm keeping them all together. I'm planning to use them all in one quilt, in the style of Victoria. Can't wait to get to this project!

Meanwhile, I haven't done as much applique this week. I'm hoping to baste some pears for the Christmas block today, and maybe some stems on the Lollypop block. I'd better get with it - March is going along too fast!

Thursday, March 10, 2011

Back Basting Applique Tutorial: Part 2

Using little scissors, clip every other basting stitch.
Thread a needle (I use number 10 quilting needles) with thread that matches the applique. I love my bobbin holder filled with a rainbow array of cotton thread. I got it here.
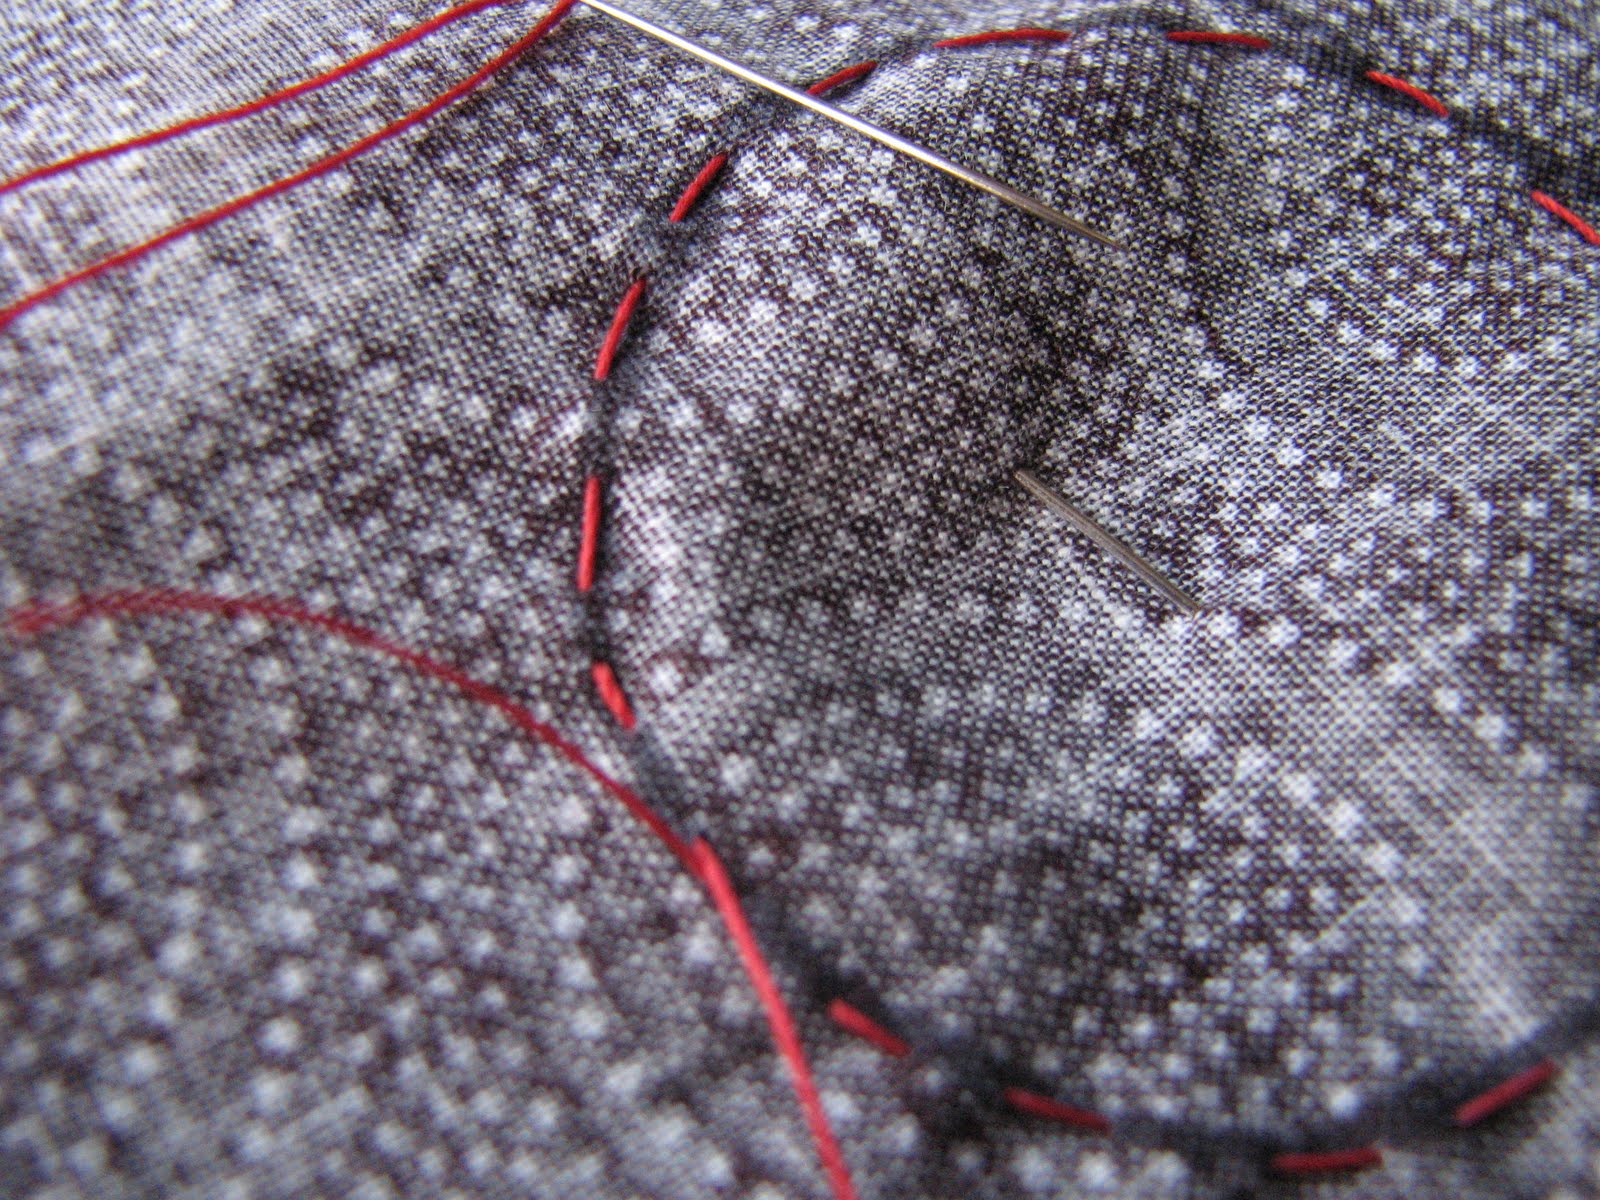
Using the tip of your needle, pull out one or two bits of applique thread. You can see the tiny holes left by the thread. You will be turning the edge of the applique under along this line of holes.
Using the tip of your needle, turn under the edge in a small area where you removed the basting stitches. Bring the threaded needle up from the back of the background fabric and through a couple of threads along the edge of the folded edge of the applique piece.

Continue to stitch the applique piece to the background, removing basting stitches as you go along.
Ta Dah! The finished applique!

Here's a very helpful hint: I keep a roll of clear tape nearby. I roll a piece of tape with the sticky side out and stick it to my shirt near my shoulder. As I remove bits of basting stitches, I stick the pieces of thread to the tape. This keeps all those little threads off the floor, and make them easy to discard.

Back Basting Applique Tutorial: Part 1

I've gotten so many requests for a tutorial on my favorite way to applique - so here it is!

Start by tracing the REVERSE IMAGE of the applique pattern on the BACK side of the background fabric. For a light background (like my Baltimore Christmas blocks) I use a mechanical pencil. For a dark background (like my Lollypop Tree blocks) I used a Sharpie. Make sure the markings DO NOT show through to the right side of the fabric. You could also use a washable fabric marker, a ball point pen, a gel pen, a chalk marker, whatever works for you and your fabric.
Cut an over sized piece of fabric for the selected area.
Pin the applique fabric to the RIGHT side of the background. At this point I hold it up to a window to make sure the applique fabric is positioned correctly over the traced area, with enough extra for a turned under edge.
Working from the BACK, and using a THICK thread (such as button or jeans thread) baste the applique fabric to the background using big stitches (1/4 inch). No need to knot the thread - leave it loose.
Turn to the right side and trim the applique piece a scant quarter inch from the basting stitches. At this point let it sit for awhile. This will give the fabric some time to acquire a "memory," making it easy to turn the edges under.

To be continued.

Tuesday, March 8, 2011

Branching Out

I started on the Baltimore Christmas March block over the weekend. It's a partridge in a pear tree. I'm doing all the branches of the tree first. Recognize the brown fabric? It's the background for my Lollypop Tree quilt - Kaffe Fassett Aboriginal Dots. Though the branches are at times VERY SKINNY, I'm really enjoying the soft curves. Should finish these today.
Here's Mickey peeking out from under a quilt in hubby's lap, his favorite spot to sleep.

I'm going to a neighbor's house this afternoon to teach a couple of women how to hand applique. They are planning to make a quilted banner for their church and need some help getting started.

Check out the other blog for a yummy Turkey Meatloaf recipe today.

Saturday, March 5, 2011

Wooly Evening

I finally got down to business on the February Sue Spargo block last night. I did more than half of the applique while watching TV with hubby.
There's a velvet piece that will be added at the base of the flower. Hope to finish this part today. Then on to the embellishment. The decorative stitches will add so much depth.

There is an estate sale going on down the street. I walked over yesterday to check it out. Mostly junk. BUT, I did discover an old metal drawer unit in the garage. It's old and worn. I love that the drawers are all shallow.

I don't have a picture yet because hubby and I are going to bring it home today. For now it will be in the garage until I can clean it up and maybe spray paint it a fun color. You guessed it - it will eventually live in my studio as part of my studio makeover.

Happy Dance: Daughter 2 is coming home for Spring Break today!! Yippee!!